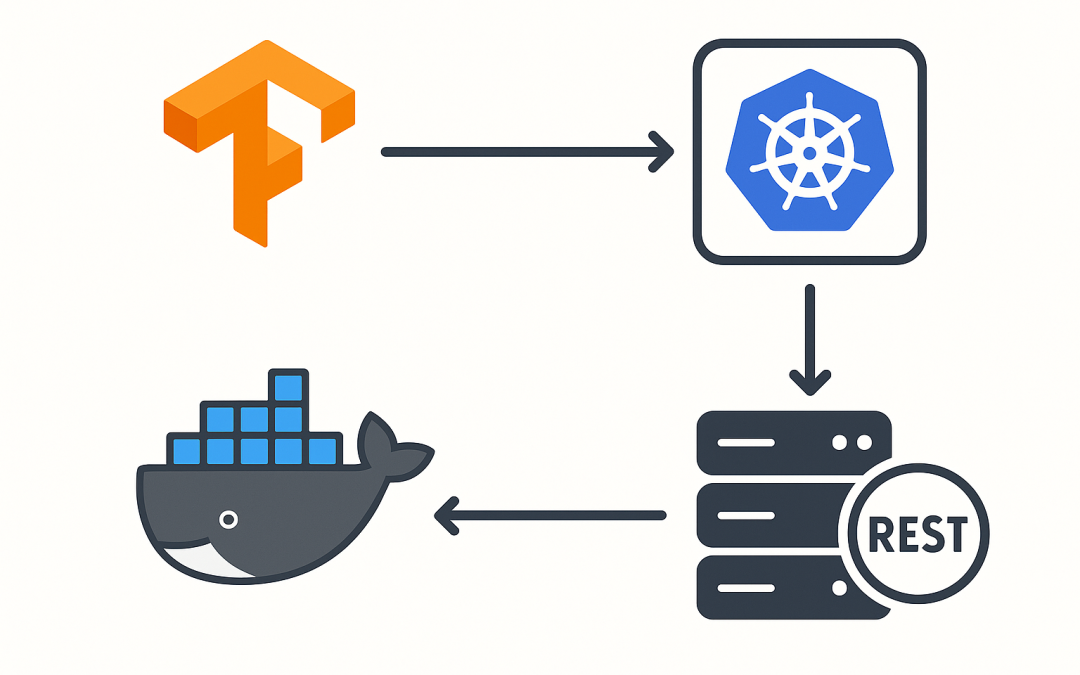
In this blog post Deploy a Model with TensorFlow Serving on Docker and Kubernetes we will walk through how to package a TensorFlow model, serve it locally with Docker, and scale it on Kubernetes. Deploy a Model with TensorFlow Serving on Docker and Kubernetes is aimed at technical teams who want a reliable, fast, and maintainable way to serve models in production.
At a high level, TensorFlow Serving is a purpose-built, high-performance inference server. It loads models in TensorFlow’s SavedModel format, exposes standard REST and gRPC endpoints, and supports model versioning and batching out of the box. Compared to DIY Flask or FastAPI wrappers, it’s faster to stand up, easier to operate, and designed for zero-downtime upgrades.
What is TensorFlow Serving
TensorFlow Serving (TF Serving) is a C++ server that:
- Reads TensorFlow SavedModel directories (versioned as 1, 2, 3…)
- Serves predictions over HTTP/REST (default port 8501) and gRPC (default port 8500)
- Hot-reloads new model versions and supports canarying/rollback
- Optionally batches requests for higher throughput
Because it’s optimized in C++ and tightly integrated with TensorFlow runtimes (CPU and GPU), you get strong performance without writing server code. Your team focuses on model training and packaging; TF Serving handles the serving.
Prerequisites
- Docker installed locally
- Python 3.9+ and TensorFlow for exporting a model
- curl for quick REST testing
Step 1: Export a SavedModel
We’ll create a simple Keras model and export it in the SavedModel format, versioned under models/my_model/1. TF Serving looks for numeric subfolders representing versions.
import tensorflow as tf
import numpy as np

# Build a tiny model
model = tf.keras.Sequential([
    tf.keras.layers.Input(shape=(4,), name="features"),
    tf.keras.layers.Dense(16, activation="relu"),
    tf.keras.layers.Dense(1, activation="sigmoid")
])
model.compile(optimizer="adam", loss="binary_crossentropy")

# Train on dummy data (replace with your real data)
x = np.random.rand(200, 4).astype("float32")
y = (x.mean(axis=1) > 0.5).astype("float32")
model.fit(x, y, epochs=3, verbose=0)

# Export as SavedModel (version 1)
export_path = "models/my_model/1"
tf.saved_model.save(model, export_path)
print("SavedModel exported to", export_path)
This export includes a default signature (serving_default) TF Serving will use for inference.
Step 2: Serve locally with Docker
Run the official TF Serving container, mounting your model directory and exposing REST and gRPC ports:
docker run --rm -p 8501:8501 -p 8500:8500 \
  -v "$PWD/models/my_model:/models/my_model" \
  -e MODEL_NAME=my_model \
  --name tfserving \
  tensorflow/serving:latest
What this does:
- Binds REST on
localhost:8501and gRPC onlocalhost:8500 - Loads the highest numeric version under
/models/my_model - Exposes the model under the name
my_model
Step 3: Send a prediction
Use REST for a quick test:
# Model status
curl http://localhost:8501/v1/models/my_model

# Predict (two rows, 4 features each)
curl -X POST http://localhost:8501/v1/models/my_model:predict \
  -H "Content-Type: application/json" \
  -d '{"instances": [[0.1,0.2,0.3,0.4],[0.9,0.8,0.1,0.0]]}'
You’ll get back a JSON with predictions. In production, you can switch to gRPC for lower latency and better throughput, but REST is perfect for quick testing and many web services.
Step 4: Upgrade and roll back with versions
To deploy a new model version without downtime:
- Export your updated model to
models/my_model/2 - Place it alongside version 1 on the same path
- TF Serving will detect the new version and start serving it once loaded
Roll back by removing or disabling version 2; the server will return to serving the latest available version. You can tune how quickly it polls the filesystem with --file_system_poll_wait_seconds if needed.
Step 5: Serve multiple models
For multi-model setups, point TF Serving at a model config file:
# models.config (textproto)
model_config_list: {
  config: {
    name: "fraud_model"
    base_path: "/models/fraud_model"
    model_platform: "tensorflow"
  }
  config: {
    name: "churn_model"
    base_path: "/models/churn_model"
    model_platform: "tensorflow"
  }
}
docker run --rm -p 8501:8501 -p 8500:8500 \
  -v "$PWD/models:/models" \
  -v "$PWD/models.config:/models/models.config" \
  tensorflow/serving:latest \
  --model_config_file=/models/models.config \
  --strict_model_config=false
Step 6: Move to Kubernetes
On Kubernetes, mount your model directory from a PersistentVolume and expose a Service. A minimal example:
---
apiVersion: apps/v1
kind: Deployment
metadata:
  name: tfserving
spec:
  replicas: 1
  selector:
    matchLabels:
      app: tfserving
  template:
    metadata:
      labels:
        app: tfserving
    spec:
      containers:
      - name: tfserving
        image: tensorflow/serving:latest
        args:
          - "--model_name=my_model"
          - "--model_base_path=/models/my_model"
          - "--port=8500"
          - "--rest_api_port=8501"
        ports:
          - containerPort: 8501
          - containerPort: 8500
        volumeMounts:
          - name: model-volume
            mountPath: /models/my_model
      volumes:
        - name: model-volume
          persistentVolumeClaim:
            claimName: tf-model-pvc
---
apiVersion: v1
kind: Service
metadata:
  name: tfserving
spec:
  selector:
    app: tfserving
  ports:
    - name: http
      port: 8501
      targetPort: 8501
Add an Ingress or API gateway with TLS, and consider autoscaling:
apiVersion: autoscaling/v2
kind: HorizontalPodAutoscaler
metadata:
  name: tfserving
spec:
  scaleTargetRef:
    apiVersion: apps/v1
    kind: Deployment
    name: tfserving
  minReplicas: 1
  maxReplicas: 5
  metrics:
  - type: Resource
    resource:
      name: cpu
      target:
        type: Utilization
        averageUtilization: 70
Performance and reliability tips
- Batching: Enable batching to increase throughput under load.
# batching_config.txt
max_batch_size: 32
batch_timeout_micros: 2000
num_batch_threads: 8
max_enqueued_batches: 100
docker run --rm -p 8501:8501 -p 8500:8500 \
  -v "$PWD/models/my_model:/models/my_model" \
  -v "$PWD/batching_config.txt:/models/batching_config.txt" \
  -e MODEL_NAME=my_model \
  tensorflow/serving:latest \
  --enable_batching=true \
  --batching_parameters_file=/models/batching_config.txt
- CPU vs GPU: For heavy models or large batches, use
tensorflow/serving:latest-gpuwith NVIDIA Container Toolkit.
docker run --gpus all -p 8501:8501 -p 8500:8500 \
  -v "$PWD/models/my_model:/models/my_model" \
  -e MODEL_NAME=my_model \
  tensorflow/serving:latest-gpu
- Model size and cold starts: Keep models lean, and pre-warm by sending a small request after rollout.
- Versioning strategy: Always deploy to a new numeric folder (e.g.,
/2), test, then cut traffic. Keep N-1 for quick rollback. - Input validation: Enforce shapes and dtypes at your API edge to avoid malformed requests reaching TF Serving.
- Observability: Log request IDs at the caller, track latency and error rates, and capture model version in every metric/event.
- Security: Put TF Serving behind an Ingress or API gateway with TLS and authentication. Restrict direct access to ports 8500/8501.
Common pitfalls
- Signature mismatches: Ensure your client payload matches the SavedModel signature (
serving_default). If in doubt, inspect withsaved_model_cli show --dir <path> --all. - Wrong JSON shape: REST
instancesmust match the model’s expected shape. For a single vector input, wrap it as a list of lists. - Mount paths: The container must see versioned subfolders under the base path (
/models/my_model/1,/2, …). - Resource limits: Without CPU/memory limits in Kubernetes, noisy neighbors can cause latency spikes. Set requests/limits and autoscaling.
Why this approach works
TF Serving abstracts the serving layer with an optimized, battle-tested server. Docker makes it reproducible on a laptop, CI, or any cloud VM. Kubernetes adds elasticity, resilience, and a paved path to GitOps and blue/green rollouts. Together, they remove bespoke server code and let your team focus on model quality and business impact.
Wrap-up
You now have a clean path from a trained TensorFlow model to a production-ready, scalable serving stack. Start with Docker for fast iteration, then move to Kubernetes when you need high availability and autoscaling. If you want help adapting this for your environment—object storage model syncing, canarying, observability, security—CloudProinc.com.au can assist with reference architectures and hands-on implementation.
Discover more from CPI Consulting
Subscribe to get the latest posts sent to your email.