The second blog post about Azure AI Language will show how to Build a Conversational Language Bot with Azure AI Language.
Table of contents
If you missed the first blog post about Azure AI Language click here to read the article.
Azure AI Language offers powerful capabilities for creating conversational language bots. By utilizing the Azure AI Language Studio portal, you can train and publish models to enhance your applications with natural language understanding. In this guide, we’ll walk through the steps to create and deploy a conversational language bot using Azure AI Language.
Create an Azure AI Language Resource
Before you can begin building your bot, you’ll need to set up an Azure AI Language resource. This resource will provide the necessary infrastructure to handle language understanding tasks. Visit this article to learn how to deploy an AI Language resource using Azure REST API.
Build a Conversational Language Bot with Azure AI Language
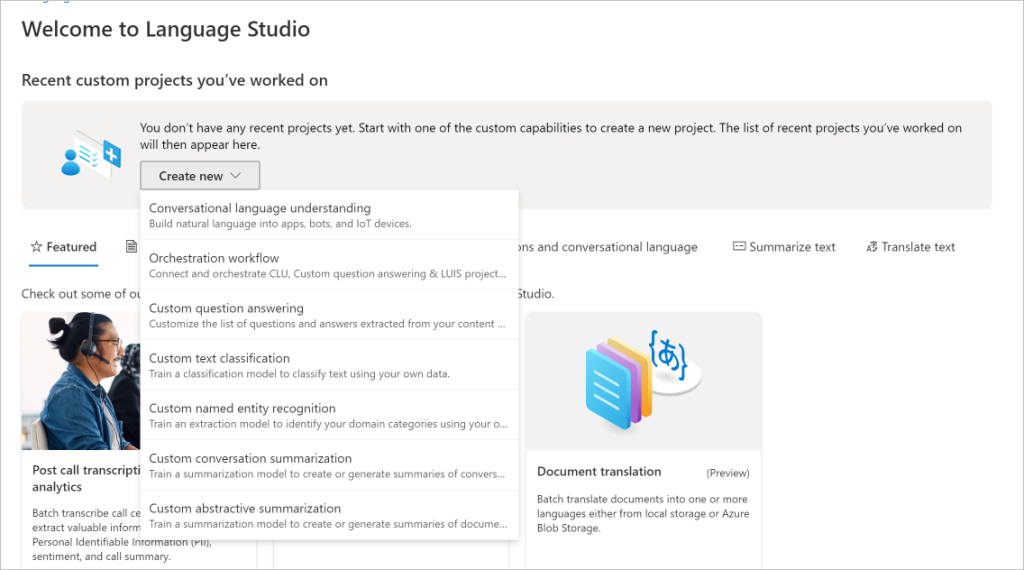
Once your resource is set up, it’s time to create a project. In the Language Studio, click Create New Project.

When asked for your Entra ID details, select your Azure subscription details and the Azure AI Language the model will use.

From the project type drop-down list, select Conversational Language Understanding.

This option allows you to build a bot capable of processing natural language and responding appropriately.
Deploy the Model
After creating and training your model, you’ll want to deploy it so that it can be integrated into your applications.
In the Language Studio portal, select Deploy a Model from the menu.

Name your deployment, select the trained model, and specify the deployment region. Once everything is configured, click Deploy.

Configure a .NET Application
To use your Azure AI Language model in a .NET application, follow these steps:
Add the required SDK package to your .NET project:
dotnet add package Azure.AI.Language.Conversations --version 1.1.0In your Azure AI Language resource, go to the Keys and Endpoints section. Copy the endpoint details and API key.

Create an appsettings.json file in your .NET project with the following details:
{
   "AIServicesEndpoint": "YOUR_AI_SERVICES_ENDPOINT",
   "AIServicesKey": "YOUR_AI_SERVICES_KEY"
}
In your Program.cs file, initialize the client to connect to Azure AI Language:
using Azure;
using Azure.AI.Language.Conversations;

// Create a client to connect to Azure AI Language
Uri endpoint = new Uri(predictionEndpoint);
AzureKeyCredential credential = new AzureKeyCredential(predictionKey);
ConversationAnalysisClient client = new ConversationAnalysisClient(endpoint, credential);
You can continue building your application using the Azure SDK for the .NET AI Language library.
If your organisation needs assistance with Azure AI Services, use the form below to contact us.
Discover more from CPI Consulting -Specialist Azure Consultancy
Subscribe to get the latest posts sent to your email.


