In this OpenAI blog post, We’ll show you how to upload multiple files to OpenAI’s storage using C#. We’ll walk through a simple console application that reads files from a folder and uploads them to OpenAI. This tutorial will guide you on how to upload files to OpenAI storage with C#.
If you’re building applications with the OpenAI API, there are scenarios where you need to upload files — for example, when using Assistants, fine-tuning models, or providing external documents. OpenAI provides secure storage for your uploaded files, and with the OpenAI .NET SDK, the process is straightforward. Knowing how to upload files to OpenAI storage with C# can be crucial in such cases.
Prerequisites
Before you start, ensure you have:
- A valid OpenAI API key
- The latest
OpenAI.NET SDK installed (OpenAINuGet package) - Basic familiarity with C# and asynchronous programming
You can install the OpenAI .NET SDK by running:
dotnet add package OpenAIStep 1: Set Up the OpenAI Clients
First, we create an OpenAIClient using your API key, which should be securely stored in an environment variable called OPENAI_API_KEY. This ensures sensitive credentials are not hardcoded and is key in how to upload files to OpenAI storage with C#.
OpenAIClient openAIClient = new(Environment.GetEnvironmentVariable("OPENAI_API_KEY"));
OpenAIFileClient fileClient = openAIClient.GetOpenAIFileClient();
AssistantClient assistantClient = openAIClient.GetAssistantClient();OpenAIClientis the main entry point.OpenAIFileClienthandles all file upload operations.AssistantClientis created if you also want to work with the Assistants API.
Step 2: Prepare Files for Upload
Next, specify the folder containing the files you want to upload. This example assumes a folder named Files exists at the application root:
string folderPath = "Files";
string[] filePaths = Directory.GetFiles(folderPath);
This line fetches all file paths from the folder, so you can loop over them.
Step 3: Upload Files to OpenAI
Using a foreach loop, the application reads each file as a FileStream and uploads it using UploadFileAsync:
foreach (string filePath in filePaths)
{
using FileStream fileStream = File.OpenRead(filePath);
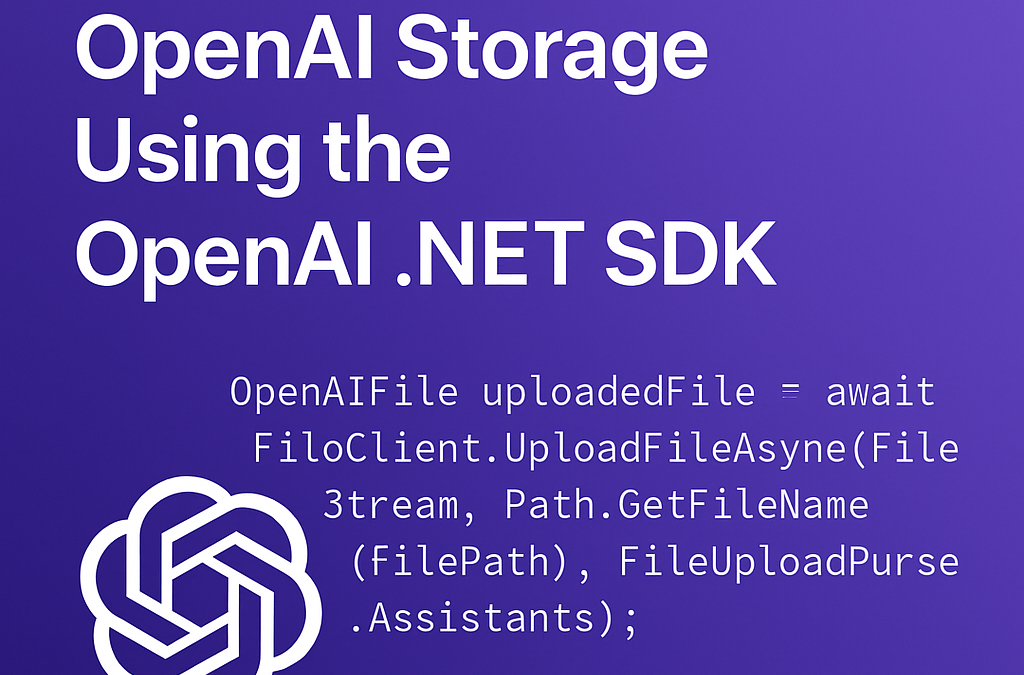
OpenAIFile uploadedFile = await fileClient.UploadFileAsync(
fileStream,
Path.GetFileName(filePath),
FileUploadPurpose.Assistants);
Console.WriteLine($"Uploaded File: {uploadedFile.Filename}, ID: {uploadedFile.Id}");
}Key points:
- Files are uploaded with the purpose
Assistants, which is used when files are associated with OpenAI Assistants workflows. - After uploading, the filename and its OpenAI-generated ID are printed for reference.
Step 4: List Uploaded Files
Finally, you might want to verify the files you uploaded by listing all files currently stored in your OpenAI account:
try
{
    var result = await fileClient.GetFilesAsync();
    var files = result.Value;

    foreach (var file in files)
    {
        Console.WriteLine($"File ID: {file.Id}, Filename: {file.Filename}, Size: {file.SizeInBytes} bytes");
    }
}
catch (Exception ex)
{
    Console.WriteLine($"Error: {ex.Message}");
}
This retrieves and prints a list of all uploaded files, including their IDs, filenames, and sizes.
Summary
Uploading files to OpenAI using the .NET SDK is simple and efficient. This approach can be integrated into larger projects where you want to automate the management of document libraries, fine-tuning datasets, or file attachments for AI assistants. Knowing how to upload files to OpenAI storage with C# is invaluable when integrating these capabilities.
Tip: Always remember to manage uploaded files properly. Unused files can accumulate over time and may impact your storage limits and costs.
If you’re interested in extending this, you could add features like:
- Deleting old or unused files
- Categorizing uploads by project
- Monitoring upload status in real time
Happy coding! Learning how to upload files to OpenAI storage with C# will greatly enhance your coding projects.
For OpenAI and .NET consulting please contact us
Discover more from CPI Consulting
Subscribe to get the latest posts sent to your email.